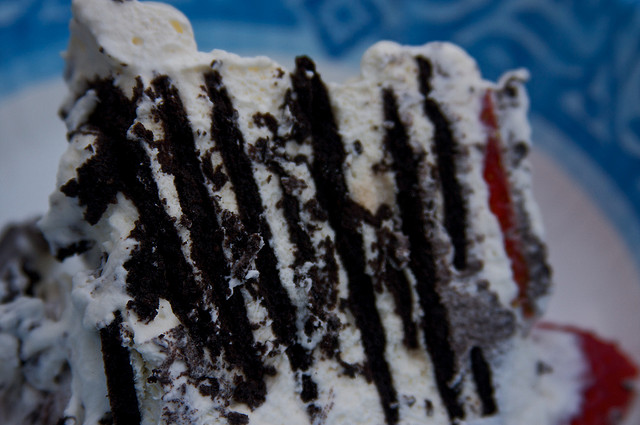
Grain Free Chocolate Wafer Cookies Icebox Cake

Ah the ice box cake…made with those thin, processed Famous Chocolate wafer cookies and whipped cream…remember that from your childhood? The icebox cake is basically a cake you build with cookies layered with whipped cream which sits in the refrigerator overnight – NO BAKE! The cookies soak up the cream and when you slice the cake you get those beautiful black and white stripes. I absolutely loved this cake growing up and would ask my mother for it often.
However, looking at the ingredients on the package of the processed wafer we used to use to make this cake makes me cringe!
Store bought wafer Ingredients:
Enriched Flour (Wheat Flour, Niacin, Reduced Iron, Thiamine Mononitrate [Vitamin B1], Riboflavin [Vitamin B2], Folic Acid), Sugar, Vegetable Shortening (Partially Hydrogenated Soybean Oil and/or Cottonseed Oil), Cocoa (Processed With Alkali), High Fructose Corn Syrup, Coconut Preserved With Sulfur Dioxide, Chocolate, Whey, Baking Soda, Salt, Eggs, Soy Lecithin (Emulsifier), Dextrose, Artificial Flavor.
Talk about FAKE food! I would never serve this to guests now much less my family.
So yes – because I am always up for a challenge -I have transformed this recipe into a real food treat. This is a fully homemade, grain-free, refined sugar-free version of the chocolate wafer cookie icebox cake! Layered with raw whipped cream! Delicious! See folks – it can be done! Also–below the recipe I have included information on a new grain-free online course. If you have thought about going grain-free – this is an invaluable resource to get started and I highly recommend it – this is something I did not have when getting started and I sorely wish I did.
Ingredients for chocolate wafer cookies
makes 48 chocolate wafer cookies
- 1 1/2 cup almond flour
- 2/3 cup coconut flour (where to buy)
- 1 cup cocoa powder (where to buy)
- 1 tsp baking soda
- 1 tsp sea salt (where to buy)
- 2/3 cup coconut oil, melted (where to buy)
- 2 cups coconut sugar (where to buy)
- 2 whole pastured eggs
Directions for chocolate wafer cookies
In a medium bowl, combine almond flour, coconut flour, cocoa powder, baking soda, and salt. Set aside. In the bowl from your stand mixer, combine coconut oil, coconut sugar, and the egg, and mix until combined. Reduce speed to low, and gradually add in the dry ingredients in three increments until all are incorporated.
Ingredients for whipped cream
- 2 cups raw heavy cream (where to find raw milk)
- 1 tsp vanilla extract
- 2 Tbsp raw honey (where to buy)
Directions for whipped cream
Directions for the icebox cake:
- 12 Weeks of Online Classes
- Over 80 Video Tutorials
- Over 150 Printable Recipes (that’s like three cookbooks worth of recipes!)


This is the recipe I've been looking for! Frank and I LOVE chocolate rice flour cookies with our raw milk ice-cream, but I hadn't found a recipe for some good gluten free chocolate wafers to make my own yet! Are these nice and crumbly or can they be made to be that way? I love cookies that are really grainy and crumbly.
They are crisp and crunchy! I need to get better at slicing them more thinly but they turn out great regardless.
How come the obvious trade-off, between having almond flour (fat) and coconut flour (saturated fat) instead of “grains” goes disregarded? This recipe has nothing but fat and sugar in it. But somehow it is better because it is “real”?
I am not sure what you are trying to say. If you still believe saturated fat is bad for you then this probably isn’t the blog for you.
Yes!