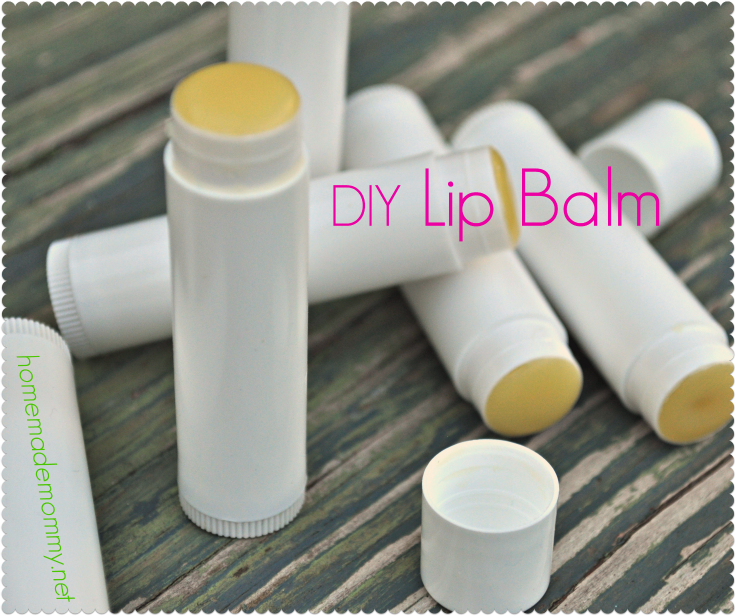
Chocolate Mint DIY Lip Balm
Confession: I am a lip balm addict. I have one tube next to my bed, in my bathroom, in my office, in my car, and in my purse. I tend to get really attached to the kind of lip balm I am using and so I usually buy a lot at once. Even though I have been making my own beauty products including non-toxic sunscreen for some time now, I was not sure about making my own DIY lip balm. First of all, I like my lip balm in a tube, not a pot. I had never purchased my own tubes to fill and wasn’t sure exactly how to best fill them.
I finally ordered some lip balm tubes and decided it was time to try this.
How did it go?
How silly I was to avoid making this myself! This was not as hard as I thought it would be. However, I will provide one big recommendation before getting started – ensure you are ready to quickly pour before the mixture starts to harden. I like the idea of putting all of the sticks right next to each other and then securing with a rubber band. This way you can get the oil in the sticks quickly without making too much of a mess. (I clearly made a mess so that is why I am warning you!).
I decided to add some cocoa butter to my first batch on a whim. What a nice surprise I got when I tried my lip balm for the first time. I feel like I am eating chocolate each time I put some on! I am so glad I finally tried to make these because now I know I will always and forever have the same lip balm and I will be able to stock my entire house with them for very little money! Think about how much you normally spend on a lip balm tube…they can be top $5 for a ‘natural’ brand. I think these cost less then a dollar per stick and they are completely non-toxic.
Chocolate Mint Lip Balm
Ingredients
- 2 Tbsp coconut oil
- 1 Tbsp (0.5 oz if you have a kitchen scale) cocoa butter
- 1 Tbsp sweet almond oil
- 2 Tbsp beeswax
- 1/4 tsp peppermint essential oil
Equipment You’ll Need
Directions
Gently melt the cocoa butter, coconut oil, sweet almond oil, and beeswax in a double boiler (or in a glass bowl set on top of a sauce pot of simmering water).
Remove from heat and then stir in the peppermint essential oil.
Quickly pour the melted oil into the tubes. You have to move very quickly before the oils start to set. I used a small funnel which promptly got clogged! I do not recommend using a medicine dropper because it will quickly clog up as well!
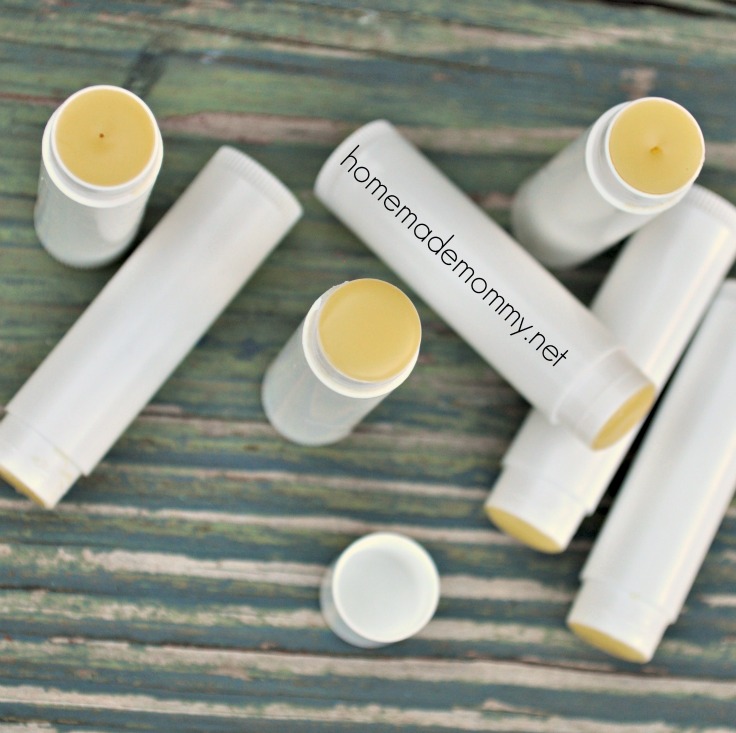
Allow the lip balm to set and then cap the containers. Doesn’t it taste like chocolate mint? I am completely in love with these and so is my daughter!
Further Reading from Around the Web
- Attend one of my Essential Oils 101 classes here!
- 20 Uses for Peppermint Essential Oil
- How To Buy Therapeutic Essential Oils


You can put some rice (or sand, or old beans, or whatever) into a bowl or baking dish, and stand your tubes up in it. They will stay put, and any spills just get the rice dirty instead of your counter!
Just tried this – what a great recipe!
Has a gorgeous silky smooth feel on your lips. I used edible peppermint extract instead of peppermint essential oil. I also added some cherry red lipstick shavings and some pearl white mica powder for colour and shimmer. Use plastic pipettes for easier transfer of lip balm into containers. Makes 80mL
Thank you! We love it too! I am still using my first few sticks from my initial batch. They last a long time! I bet I only have to make this once a year at most.
This was very beeswax-y for me. Any idea what I did wrong? The peppermint didn’t come through until I applied it to my lips, which was unexpectedly nice. Should I add more peppermint next time? Perhaps use an essential oil and extract?
The wonderful part is that these lip balms didn’t cost me more than the empty containers since I had everything else on hand.
Hmm…mine are firm but still go on smooth. I am not sure. They seem peppermint-y enough for me but if you want to add more by all means go ahead! I am glad you enjoyed them! They are very economical!
These came out soooo good! The only thing I did wrong was I filled them up to the top for some reason and ran out. This rubber band method worked great! I can’t wait to give them away this holiday
Hi Lindsey,
I just made this with my daughter and her friends. It was a fun project to do with them.
Any ideas what other essential oils we should try next?
I am working on a new recipe now!
Instead of a glass bowl to melt the ingredients in, how about a large glass measuring cup that has a pour spout? It may make the filling a bit easier and more direct.
Yes I do that now too!