
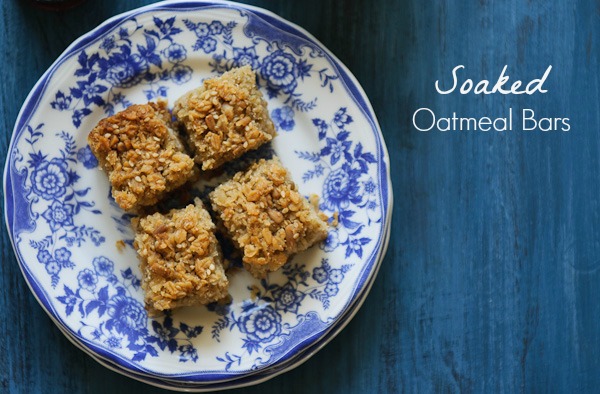
Soaked Oatmeal Bars
Hi everyone – while I am traveling overseas for my day job, I have some guest posters stopping by to introduce themselves. Next up is Winnie of Healthy Green Kitchen with a great idea for a breakfast bar using soaked oats and seeds. I really think my family is going to love these!
I don’t know about your family, but mine rarely has time to sit down for breakfast on weekday mornings. My kids like to sleep as late as they possibly can before heading out the door to catch the school bus, so I like having grab-and-go foods such as these soaked oatmeal bars at the ready.
Besides being great for breakfast, these oatmeal bars are also a nice alternative to cookies and other snacks/desserts. They are extremely versatile: I’m not a big fan of dried fruit, but I think raisins, chopped apricots, or dates would be a tasty addition. You may also swap out the seeds I used for different ones, or use chopped nuts instead. And feel free to add a little ground cinnamon and/or pure vanilla extract.
Though soaking the oats and seeds does require a bit of planning, it’s an important step. Soaking deactivates the phytic acid that may make these foods difficult to digest. Soaking also makes the nutrients they contain more accessible to the body. For more information on soaking grains and other foods, please read this informative post by Jenny of Nourished Kitchen.
Be sure to line your pan with parchment paper so removal of the bars is a cinch; this recipe makes about 16 square-shaped oatmeal bars.
Soaked Oatmeal Bars
Soaked Oatmeal Bars
Ingredients
- 3 cups organic rolled oats
- 2 tablespoons organic plain yogurt or raw apple cider vinegar, whey, lemon juice, or kefir
- 1/2 cup organic hulled raw sunflower seeds
- 1/2 cup organic raw sesame seeds
- 1/2 cup butter preferably from pastured cows, melted
- 1/2 cup raw honey or pure maple syrup
- 4 tablespoons organic coconut sugar optional, omit for less sweet bars
- 1 teaspoon fine sea salt
Instructions
- Day 1 – Soaking:1. Place oats in a large bowl, cover with filtered water, and add yogurt (or chosen acidic medium). Mix well.2. In a separate small bowl, cover seeds with filtered water.3. Cover both bowls and let rest overnight (12 hours).
- Day 2 – Preparation:1. Preheat oven to 300°F (150°C).2. Drain oats and seeds in fine mesh strainer, pressing out excess liquid.3. Combine drained oats and seeds with melted butter, honey/maple syrup, optional coconut sugar, and salt.4. Mix thoroughly with a wooden spoon or spatula.
- Baking:1. Line 8×8 baking pan with parchment paper.2. Pour mixture into lined pan, spreading evenly.3. Bake until browned on top and toothpick comes out clean (about 2-2¼ hours).4. Check every 30 minutes as baking time varies based on moisture content.
- Finishing:1. Allow to cool slightly.2. Lift parchment to remove from pan.3. Slice into squares.
Notes
Soaking oats with an acidic medium helps deactivate phytic acid, making nutrients more bioavailable and improving digestibility. Storage:
– Room temperature: Several days
– Refrigerator: Up to 2 weeks
– Freezer: Up to 3 months Serving Suggestions:
– Pair with hard-boiled eggs for breakfast
– Drizzle with extra honey
– Top with nut/seed butter and jam
– Enjoy with tea Variations:
– Adjust sweetness by omitting coconut sugar
– Try different combinations of seeds
– Use any acidic medium for soaking (yogurt, ACV, whey, lemon juice, or kefir)

These should keep for at least a few days at room temperature or refrigerate or freeze them for longer storage. Enjoy with a hard-boiled egg or two for a healthy, quick breakfast or snack. Or try them drizzled with a little extra honey, or topped with organic peanut butter (or another nut or seed butter) and some jam. I think they are lovely with a cup of tea.
Winnie Abramson is a food writer, recipe developer, and photographer with a doctorate in naturopathic medicine. She lives in upstate New York with her family and blogs at Healthy Green Kitchen.
What is the texture like? Crispy, chewy, somewhere in between?
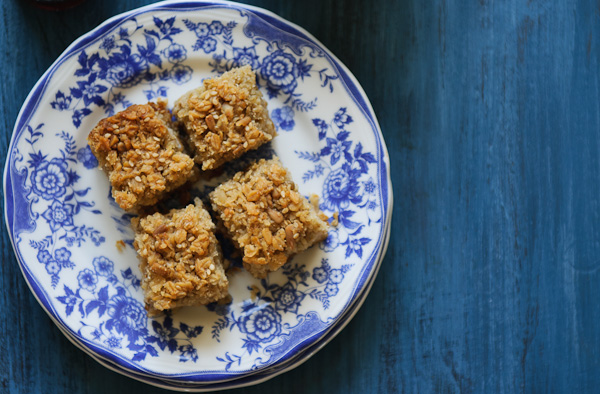
These are dense and slightly chewy with crunchy seeds. They’re amazing! The kids and I love them. They’re so perfect for a real food breakfast on the go. I just made a batch to prepare for a little road trip we’re taking tomorrow.
Hi,
Is there anyway I can change this recipe to make cookies? When I make the bars, the inside is too moist even after 2 hrs. I am trying not to use so much energy.,.:)
Thanks
You can if you want! I have not tried this so it is up to you to experiment to your heart’s desire!
These turned out okay – but a bit finicky. I cooked them for approx 2 hours and the top of the bars were really dark golden and the bottoms had cararmelized a bit. When I cut them, they crumbled a bit – and were a bit wet inside still. So I put them back in the oven after they were cut for about 15 more minutes. Overall they taste pretty good though! I added cinnamon, powdered vanilla, and raisins (on one side) and chocolate chips (on the other side – I wanted to see which tasted better!). Ultimately, I am very happy! In addition to having these with a cup of tea or tall glass of almond milk, I think these would be great crumbled over some yogurt too or mixed with some berries!
I just made these. I followed the recipe religiously and I must say they came out not so good. Crunchy on the outside but totally moist on the inside. Not sure what I did wrong
I mean not moist but wet.
You likely needed to bake them longer. Every oven is different. You won’t ruin them by baking longer – you will just make them crispier to your liking!